
Adding a PS1/PS2 Controller to Unity
- Wilfre
- 9 juin 2018
- 3 min de lecture

A lot of people still have their PS1 controller but they don't know what to do with them. With a bit of magic, you can add it to your project.
IMPORTANT :
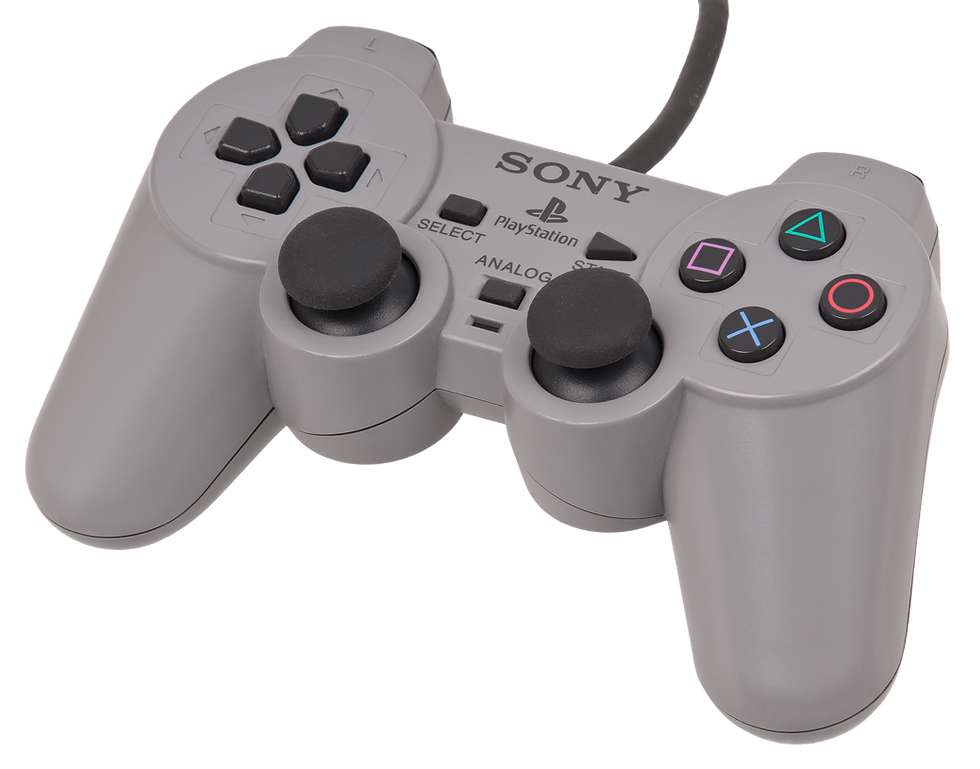
- The controller i use is a DualShock 1 (The PS1 controller with analog control)
- I use Windows 10 (Inputs may be different for each OS, feel free to give me your results)
- You will need a PS1 to USB adapter to use your controller. (Unless you find a way to plug it into your computer).
This course is written from results i got after testing the controller in Unity. Everything may be different for you because Unity is not supporting the controller. However it is still recognized because it's buttons have commonly used names such as "button1" and axes works the same as recent controllers.
------------------------------------------------------------------------

Here are the results i got after testing every button and axis. Maybe your configuration will be different.
Note : The Y values for the analog sticks are inverted, "+" is "down" and "-" is "up" which is not the case for the arrows.
Also, the arrows only work when the "analog" mode is active on the controller.
Using input in Unity :
Axes :
Between -1 and 1, if the player moves right and left, 0 is the "stop" value, 1 is right and -1 is left.
Buttons :
Pressed - Holding the key
PressedDown - Pressed the key once and didn't release it
PressedUp - On release of the key
------------------------------------------------------------------------
Let's add the controller to Unity :
First, let's open the "Input" manager. In it, we will add our axis and buttons :
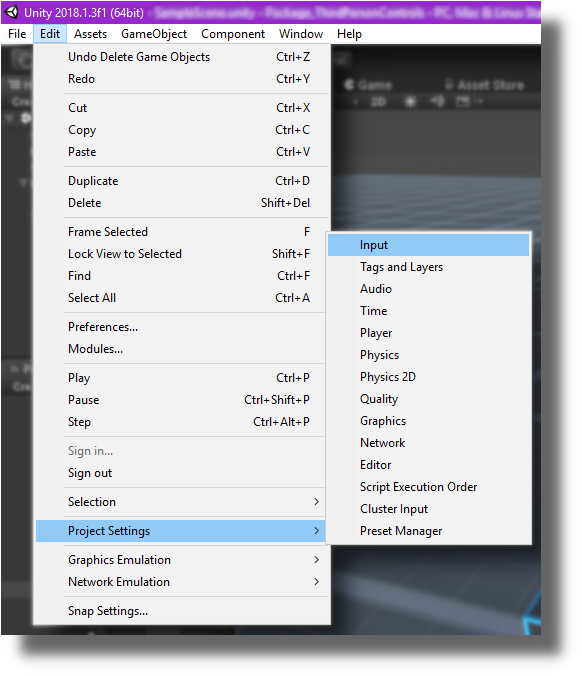
Edit > Project Settings > Input
Note : The default input manager will be loaded for every new project. You will have to add your controls again. Or you can go to your project folder > Project Settings Folder > Input Manager File, and every new button will be written here so you can copy and paste from one project to another.
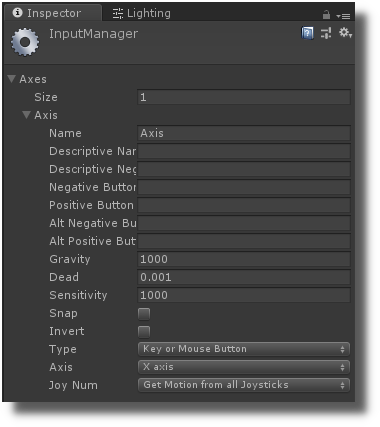
- In your Input window (appeared in the Inspector), you will have a Drop-down menu called "Axes", inside there are every button and axes used by Unity. You can add new ones by changing the value "Size", adding more slots. But in my example, i deleted everything 'Size = 0' and added a new one 'Size = 1'.
Now let's change it's values to use the X axis (Left stick X) :
- Name : "PS1AxisX"
(The name is important. The syntax will be the same in your code)
- Dead : 0.1
(Every value less than "Dead" will be put to 0. It avoids glitching detection, because sometimes the stick will be detected at a value of 0.05 instead of 0, so we bring it back to 0. We don't want the player to move when we don't press anything).
- Type : "Joystick Axis"
- Axis : "X Axis"
Here is what you should have :
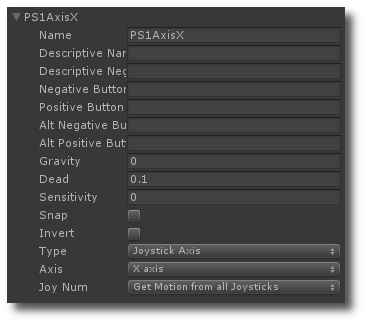
(Gravity, Sensitivity, Snap aren't used by controllers, only keyboard/mouse. You can use "invert" to invert -1 and 1 if you want, here i keep it like it was)
Buttons will be added to the code, we don't need to add them here.
You can add as much Axes as you want.
------------------------------------------------------------------------
Code Implementation :
If you create a script for your player or any other use, here is how you can find the value of an axis :
In the Update function we added :
float XMove = Input.GetAxis("PS1AxisX");
float ZMove = Input.GetAxis("PS1AxisY");
In the variable XMove or ZMove, we store the value of the axis we want to get. "From 'Input manager', we use the function 'get the axis' and we specify which axis we want to look at and store.
With these values, we can play and move anything we want.
(Remember that it can be :
'-1 = left', '0 = middle' , '1 = right'
or
'-1 = down', '0 = middle' , '1 = up'
If you want to move a character).
Now if we want to use buttons, we do it like this :
if (Input.GetKey(KeyCode.Joystick1Button1))
//Do something
Here, we check if we are pressing "Button 1" on the "Joystick 1" (Circle), and if it is true we do the actions in our condition.
Commentaires